Wednesday, April 6, 2011

So Fortunate

I've been pretty busy lately and hadn't had time to post this cute card I made for last week's My Time Made Easy Pretty Patterns challenge.  I used two digital images from So Fortunate stamp set.

(as always, click on images to enlarge)

Isn't the Asian girl cute?  I haven't used digi stamps before so I'm learning as I go.  I chose which stamps I wanted to use - and also chose other digi stamps that I want to use later - and placed them all on one page and printed them up.  I had to figure out how to space them out so I would have room around each image to cut using different Spellbinders. After I printed them, I cut them out and colored the Asian girl with copics.  I used Stampin' Up ink on the sponging but found that the ink from the printer smeared a little bit.  I am going to try to heat set the ink the next time I want to sponge over a digi stamp.

Here's the sketch I used:


I used My Time Made Easy's digi papers too.  I used MTME Fun and Fortune and Wildflowers.

I added a silk blossom from a stem of blossoms I found at Michaels for about 88 cents - I love getting good deals!  I also added some bling and ribbon and viola!  My card.

I hope you enjoyed your visit.

I have another blog post coming up for this week's My Time Made Easy's Pretty Patter challenge. I hope you join us!  We are having a great time!

Thursday, March 31, 2011

I'm on My Time Made Easy's Pretty Patterns Design Team!

I'm happy to announce that I just accepted my first position on a sketch design team called "Pretty Patterns" by "My Time Made Easy".  I'll be designing cards using their weekly sketches .  I made the following card for this past week's sketch but since I was barely informed that I made the team this afternoon they recommended that I hold on to my card for the announcement of their new team members today.  So without further adieu, here's my most recent card:

 (as always, click to enlarge)

Here's the sketch I used: 


I turned the pattern on it's side and used it that way.  
  Some close ups:
 Hand-dyed seam binding (which I bought on Etsy) for the bow with Webster's Pages sparklers in the center.  Here is a tutorial on how to hand dye seam binding with copics on Sharon's blog: Paperfections.  I haven't tried it yet but I hope to soon... But first I need to get the various ink refills in colors I want.


The "bling" is Michael's brand called Recollections.  They had a 40% off sale and I stocked up on my favorites!  The flowers are by prima and are hydrangias.  The center is a brad I had in my stash.


More close-ups.  The paper is Melissa Francis.


Thank you for stopping by!  I truly appreciate your visit!  Feel free to leave a message - I know you want to!  LOL!  Well, at least I want you to! 

This card also qualifies for the following challenges:
The Shabby Tea Room - inspirational picture, 
Prairie Fairy - Spring
CropStop Challenge Blog - lace
Sew Many Challenges - Spring Fling

Friday, March 25, 2011

Honored to be Featured in TE's Newsletter!


I received an email from Taylor of Taylored Expressions telling me that I'm being featured in their newsletter that went out today!  Shortly later I received was the newsletter.  I'm soooo honored!  Below is the card that received this honor:


Here's a close-up of the stamped image and the steam bling...


and here is the post that has the details:  Taylored Expressions March Blog Hop

Thank you for stopping by - I appreciate all your sweet comments.

Thursday, March 24, 2011

Happy birthday Tilda!

Today I want to share another Tilda Birthday card.  She is holding a gift today and wearing bright colors.  I used My Time Made Easy's sketch... and they are doing a designer team call.  If you would like to apply for a sketch designer position you can play along and in the comments area mention that you are interested in being a designer.  Here's the sketch:

(as always click images to enlarge)

Instead of the square in the center I chose to use a circle with purple scallps behind it.  As you can see, Tilda's party hat extends beyond the circle. 

A few 3-d elements to my project.  


Hope you enjoyed your visit!  All comments are greatly appreciated. 

Wednesday, March 23, 2011

Taylored Expressions March Blog Hop

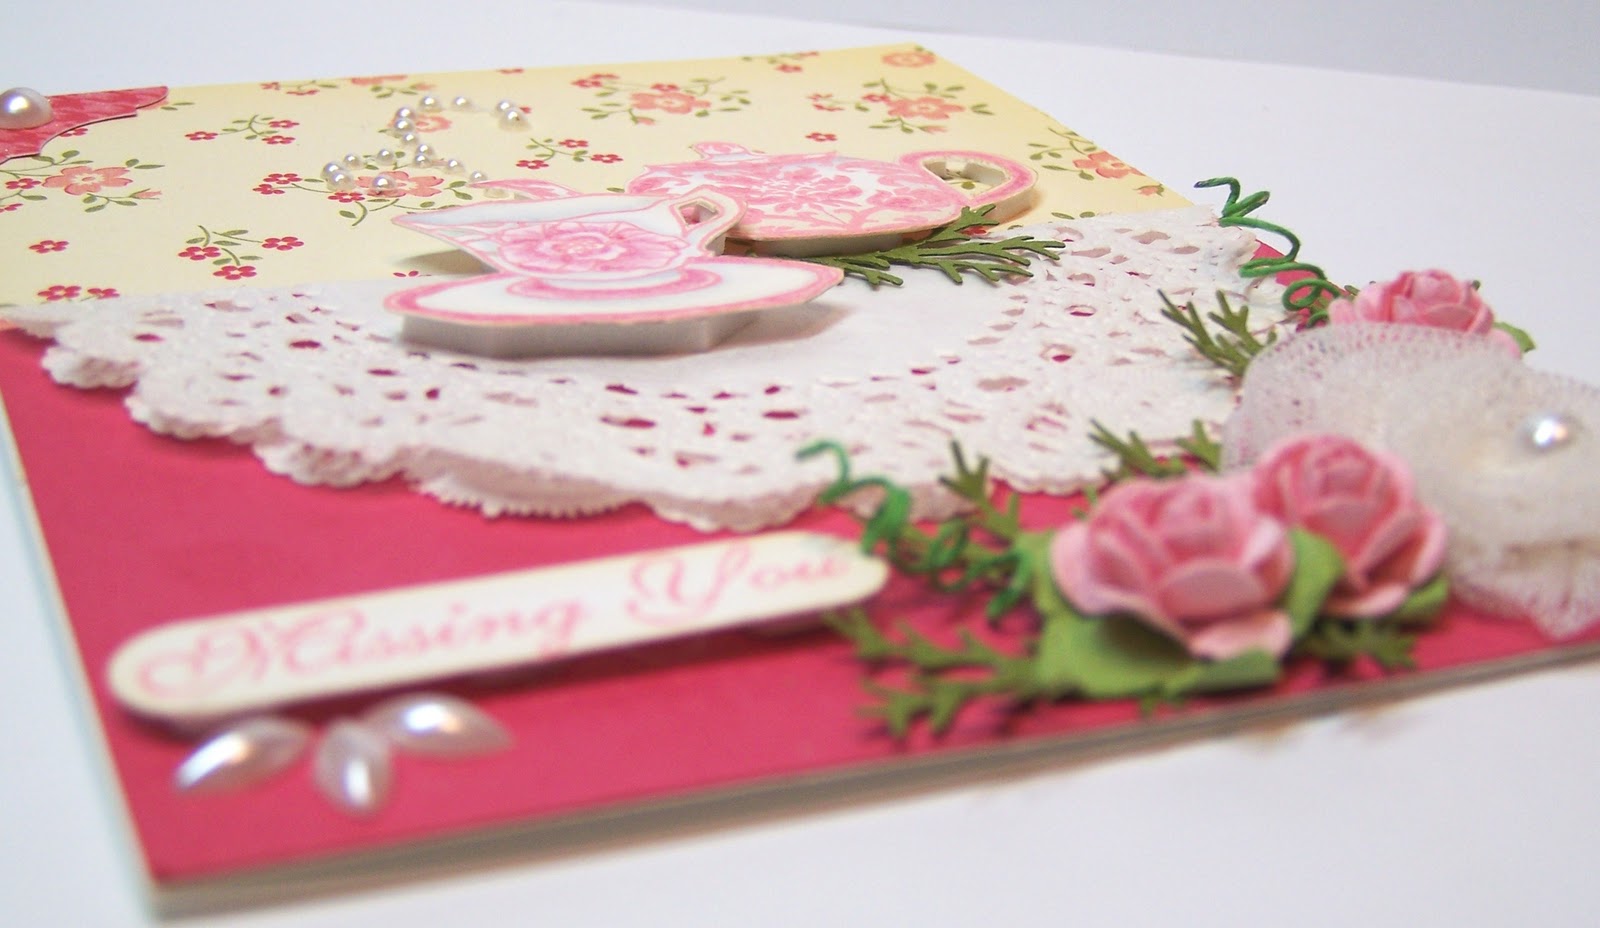
Good morning!  I'm so excited to participate in Taylored Expressions March Blog Hop!  I did not use the optional sketch because I already knew what I wanted to do.  I LOVE the stamp set:  CreativiTEA.  I knew I wanted to set the table with a table cloth and have a pretty country wallpaper behind it.


I embossed the tea kettle, tea cup and sentiment in pink then colored the teacup with copics adding a little shading on the tea kettle as well.  I distressed them with Tim Holtz antique linen and a tiny bit of tea dye. The paper on the lower portion of the card was so dark that if I cut the doily in half, you could see the base color behind it - so I chose to just fold it in half and adhere it that way.  I added some flowers from Prima including the toole one. I used a Martha Stewart punch for the foliage and added some bling.  

Here's a close-up of the tea kettle and tea cup. Don't you just love the bling for the steam?


I have to admit that I love layers!  Here's an angle showing the 3-D.


One last photo with that includes some of the inside of the card.  I stamped the rose from the same stamp set and added a little corner piece.


Thank you so much for stopping by!  I appreciate your visit and hope you enjoyed your stay.  As always I appreciate every comment!  


Thursday, March 10, 2011

In The Moonlight

I made this cute card for several challenges. 


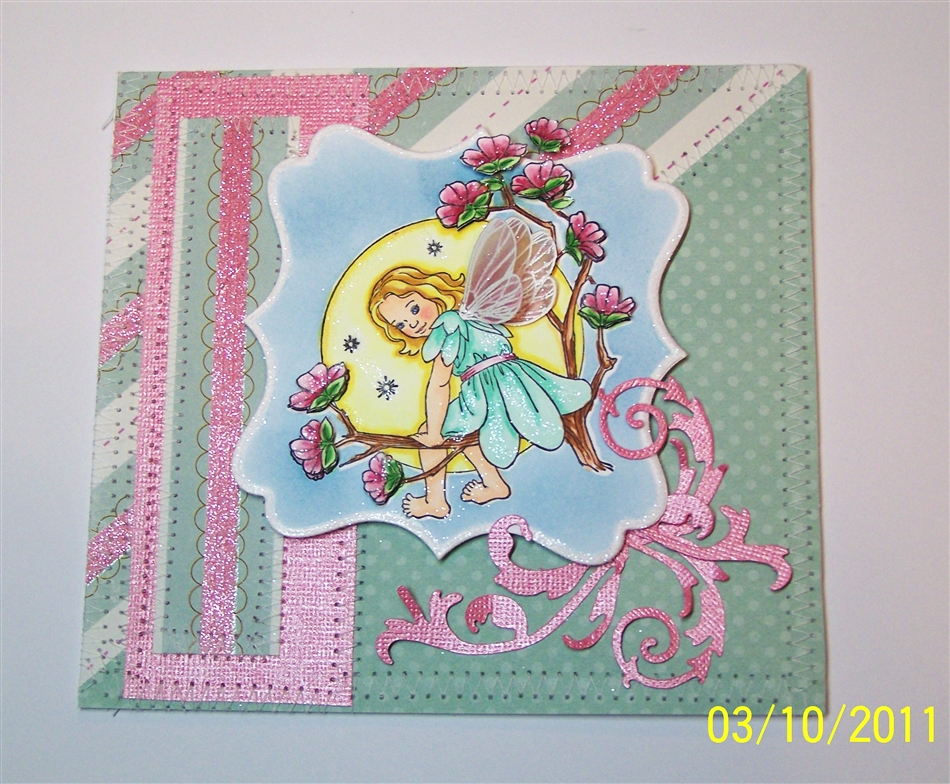
I accidentally turned on the date on my camera and don't have time to figure out how to turn it off and take new pictures... but at least you know that my card is a new one, right?  LOL  I used JustRite's "In the Moonlight" stamp set for this card.  I love this set!  I did a lot of 3-D elements to this card just like my last card - which I happened to use JustRite's Quiet Moments stamp set.


This card qualifies for the following challenges:


https://blogger.googleusercontent.com/img/b/R29vZ2xl/AVvXsEhYqWg8Dz1M6QXuOdDJk3V1ENRLW1Ylv6W6bPFVMfIu0QmtUIQ84F4etOSWLcCbpq2IE95GTTPaMGHrGH6_ZuhtaBuwAtqVU593MpLKOmEyWlFiiBSln8fEnvXqhWV0NE0fL1X6RyKguh2y/s1600/Mojo181Sketch.gif
  This week is:  Anything goes! 

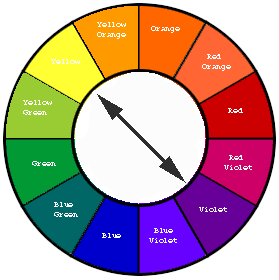
82735861 Copic Creations Challenge is to feature COMPLEMENTARY colors!    Complementary colors are found on the opposite sides of the color wheel.   I used light green and pink!  
 

Wednesday, March 9, 2011

Quiet Moments


I'm so excited to be able to participate in Joan's challenge this week. We are to use any JustRite stamps.  Here is my entry:


I used JustRite Quiet Moments for the image.  I love this image... it reminds me of my sweet daughter who would sit by me and lay her head on my shoulder.  We would hold hands and talk and talk.  I miss those moments but am so very thankful for the many wonderful memories I hold dear.  I'll be using this image again, that's for sure!

I colored the image with copics and paper pieced the little girl's dress.  The wings are separate stamps which I think it brilliant - that way you can do what I did and use them as 3-D or even eliminate them altogether.  I was very tempted to leave the image as a mother and daughter (humans) and not fairies... but I like how the wings turned out. I embossed the wings with detail white embossing powder on vellum, cut them out and attached them with mini glue dots.  I also popped the flowers up with pop dots.  This project is VERY 3-D!  Love the third dimension!  I cute the image out with Spellbinders and popped it up on Webster's Pages die.


I also added some shinny glitter (I hope you can see it here):


I purchased the Quiet Moments stamp set at Joan's Garden.  Joan is an amazing friend and I love to order from her - and she only charges what it costs her to ship... that's so nice to know, isn't it?  You can search her blog for the items that she sells (for instance if you are looking for a JustRite stamp set click on JustRite in the labels section or you can even type in the name of the stamp set in the search bar)  If you can't find what you want, email Joan and she will most likely be able to find it for you.

Thank you for stopping by.  I appreciate all comments!

Thursday, February 24, 2011

TE Blast From the Past Blog Hop

I'm so excited to participate in today's Blast from the Past Blog Hop hosted by Taylored Expressions.  This month we were to go green by either recycling (reusing or re-purposing) something or by using the color green.  Well, I did both!  I bought a nice journal at my local Michael's craft store.  Here's the before picture:


It was kind of pretty just the way it was but I wanted it to be something extra special.  I also didn't want to use it as a journal, I want to use it as a "To Do List" (hence the re-purpose part).  Here's the "after" :
Dontcha just love it?  I used TE's "Take Note" stamp set for the frame and the "To Do List".  Add some stickles, ribbon, butterfly and 1/2 doily and viola!  A nice book that might be too pretty to use.


Thank you so much for visiting and enjoy your journey through the rest of the blog hop!

Tuesday, February 1, 2011

Yellow Rose Sympathy Card

*Update* - I've added all the details about this card which was SO FUN to make!

Here's my card for Joan's challenge:

I made this Sympathy card for a dear friend of mine who's husband passed away recently after a long difficult battle with cancer.  My friend, Kathy, also has a son with CHD (congenital heart defects).  That's how I met her online over 10 years ago.  


Here is what you need to do for Joan's Gardens Weekly Challenge #4....
1.  Use Yellow and Green for your colors
2.  a piece of trim
3.  a frame to call attention to your focal point
4.  embossing

You will have until next Thursday (February 3) morning 6:00 AM EST to link your card/project. A winner for the prize will be chosen from a Random drawing and will be announced Friday morning (February 4). You can enter more than once.

You can see that I not only framed the yellow rose but I cut the opening all the way through the card so the rose could be seen.  It's really hard to see in the photos but the butterflies were cut out of glitter paper.  It gives a touch of shine in real life.


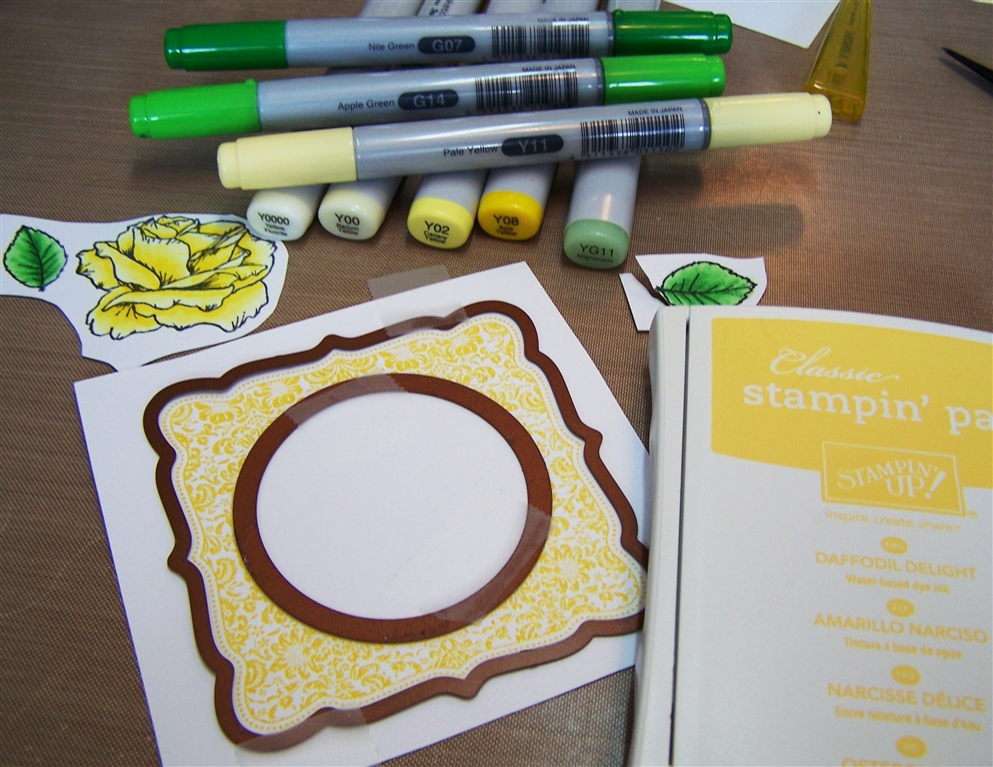
I used copics to color the rose and leaves and I embossed the frame so it's kind of shiny.  Below is a picture of the copics I used and the stamp pad color for the frame.  The Spellbinders nesties are also in the photo so you can see how I cut/embossed them in my Big Shot.  I used Scotch removable tape to keep the nesties in place.  I am careful not to put the tape on the stamped area because even though the tape removes easily without tearing the paper, it can leave the paper a little sticky.


I love the sentiment.  I'm so very grateful for all the support I have from family and friends since my daughter passed away 4 months ago.  I hope my friend feels that love and support from me and hopefully many others as well.


Here's a view of all the lovely dimensions on this card.  The white trim did not have the little white pearls on it but I thought it added just the right touch.


Here's a photo where you can see the embossing on the card a little better.  The hardest thing about this challenge is that I kept wanting to add pink to it!  haha!  I'm a pink flower type person but I think this turned out ok.


Thank you so much for your visit and of course EVERYONE loves comments!

What's in it:
Stamps: All from Gina K DesignsBotanicals, Friends, Year of Flowers, Lovely Labels 2
Paper: Prima's Annalee, Neenah Solar White, Coordination's Glitz and Glam green glitter paper.
Ink: Momento Tuxedo black, Stampin Up Daffodil Delight, copics
Ribbon:  Stampin Up So Saffron Polytwill
Embellishments: white floral trim - from my stash (I don't remember where I bought it), Kaiser pearls
Tools: Spellbinders circle nestabilities and labels fifteen, Big Shot, Martha Stewart butterfly punches 

 This card qualifies for the following challenges:  
           Joan's challenge


Saturday, January 22, 2011

Some Bunny Loves you for the Prairie Fairy

I created this cute card for a chance at being a design team for The Praire Fairy Designs.  They provided the digital image for us to use and we were to make whatever we wanted with it.  I'm afraid I made a mistake and thought it was due by Saturday night and I spent last night (Friday night) watching my son perform with the Thespian Club at his local high school instead of finishing my card.  He played a part in "Drop Dead Juliet" and ended up having to wear a dress and a wig... he also gets stabbed in this play but he kept UN-dying.  It was quite a comedy!  Last night is the only time they will perform this little play here where I can see it... so I HAD to go.  When I came home and started to put the finishing touches on my card I went to the Praire Fairy site and they had closed the submissions.  I was a little down but you know what?  Making the card was so much fun I'm not even going to let it get me down.  I'm going to email them and just let them know that I did make a card.  I don't expect them to set aside their rules just for me (and there's no guarantee that I would win a design team spot anyway)... I just thought they would like to see the card I made with their image.  So without further adieu, here's my card.

This cute little guy is sending his heart in the mail to his bunny love.  I used copics to color him, added a little shimmer to the heart when I painted the "love" with red shimmerz.  I used SU Real Red ink to sponge the edges of the die using the Spellbinders as a mask.  I ran the brown paper through my Big Shot with Tim Holts "Postcard" embossing folder.  I then used vintage cream ink to highlight the embossed area. I used Tea Dye Distress Ink around the card base which is SU's Kraft. 


I tied a bow with some red shiny ribbon that I had in my stash.  Then I added a Maya Road Transparency Doily behind the bunny.  

You can probably see the doily a little better at a different angle in this photo. 

I then added some flowers...


and fancied up the ribbon.. (yes, it is secured that way)

and put it all together and here's what you have:


I'm also submitting this card for two challenges:
Friday Sketchers - sketch
CR84FN color challenge - red, kraft & brown

Thank you for stopping by!  Hope you enjoyed your visit.  I truly appreciate every comment left here.

Friday, January 21, 2011

I Won a Waltzingmouse's Top Mouse Award!

I won a Top Mouse Award for the Sketch Challenge #24 on the Waltzingmouse Sketch Challenge blog  I won that award back in November but with everything going on I either forgot or was too busy to post this award.  I'm so happy that I won it!  Here's the card that I used for that sketch challenge:


Here's the cute award that I get to display on my sidebar.  Cool, huh? 

Top Mouse
Thank you for stopping by!  I truly appreciate your time.

Wednesday, January 19, 2011

I Love You Berry Much

I'm so happy to participate in this month's Taylored Expressions Blast From the Past Blog Hop .  This month we were to create a card featuring any Taylored Expressions Stamps released prior to November 2010! The theme for our January hop is LOVE.  Here's the card I made using TE's Berries and Cherries.  


Thank you for visiting!  Please continue your blog hop by going to the links below!


Friday, January 14, 2011

Gift-giving Tildas

It seems that blogger has "improved" it's program yet it seems to be making it harder for me to post my photos where I want and the way I want them.  hhhmmmm....  more time tryiing to post and less time crafting.  NOT what I really wanted to be doing.  But I do want to share this really cute card so I'm going to muddle through.

Here we have two Tildas - they must be twins - and one is giving the other a very special gift.


 I used the sketch for this card from the Sweet Sunday Sketch Challenge.  Below is this week's sketch. 


I was going to do this card something like the image below except for having Tilda in the center of the doily but then I got the idea to add another Tilda to the inside!


I really like the seeing the cute Tilda on the inside opening her gift.  If I had thought of this before coloring the girls, I would have made sure that the gifts were the same - but oh well!  Live and learn, right?


Here is the inside of the card.  I thought it would be really fun to adhere the circle that I cut out of the purple dotted paper to make the window behind the Tilda opening her gift.


I'm also submitting this card for the Magnolia-licious Highlights challenge which is:

*4 Flowers
*3 types of patterned paper 
*2 Magnolia images 
(any image by Magnolia qualifies/ ie. accessory, background, tilda/edwin, animal, sentiment, etc.)
*1 Ribbon

~~~~~~~~~~~~~~~~~~~

Another challenge I'm submitting this card for is Just Magnolias.
Their challenge is to use a Magnolia stamp and all your favorite things.  Well, I did!  I love Magnolia stamps, ribbon, flowers (the ones I used here are gems), die cuts, copics, sewing machine, a button... I don't know what more I could have added to this card!  

Thank you so much for stopping by!  I hope you enjoyed your stay.